
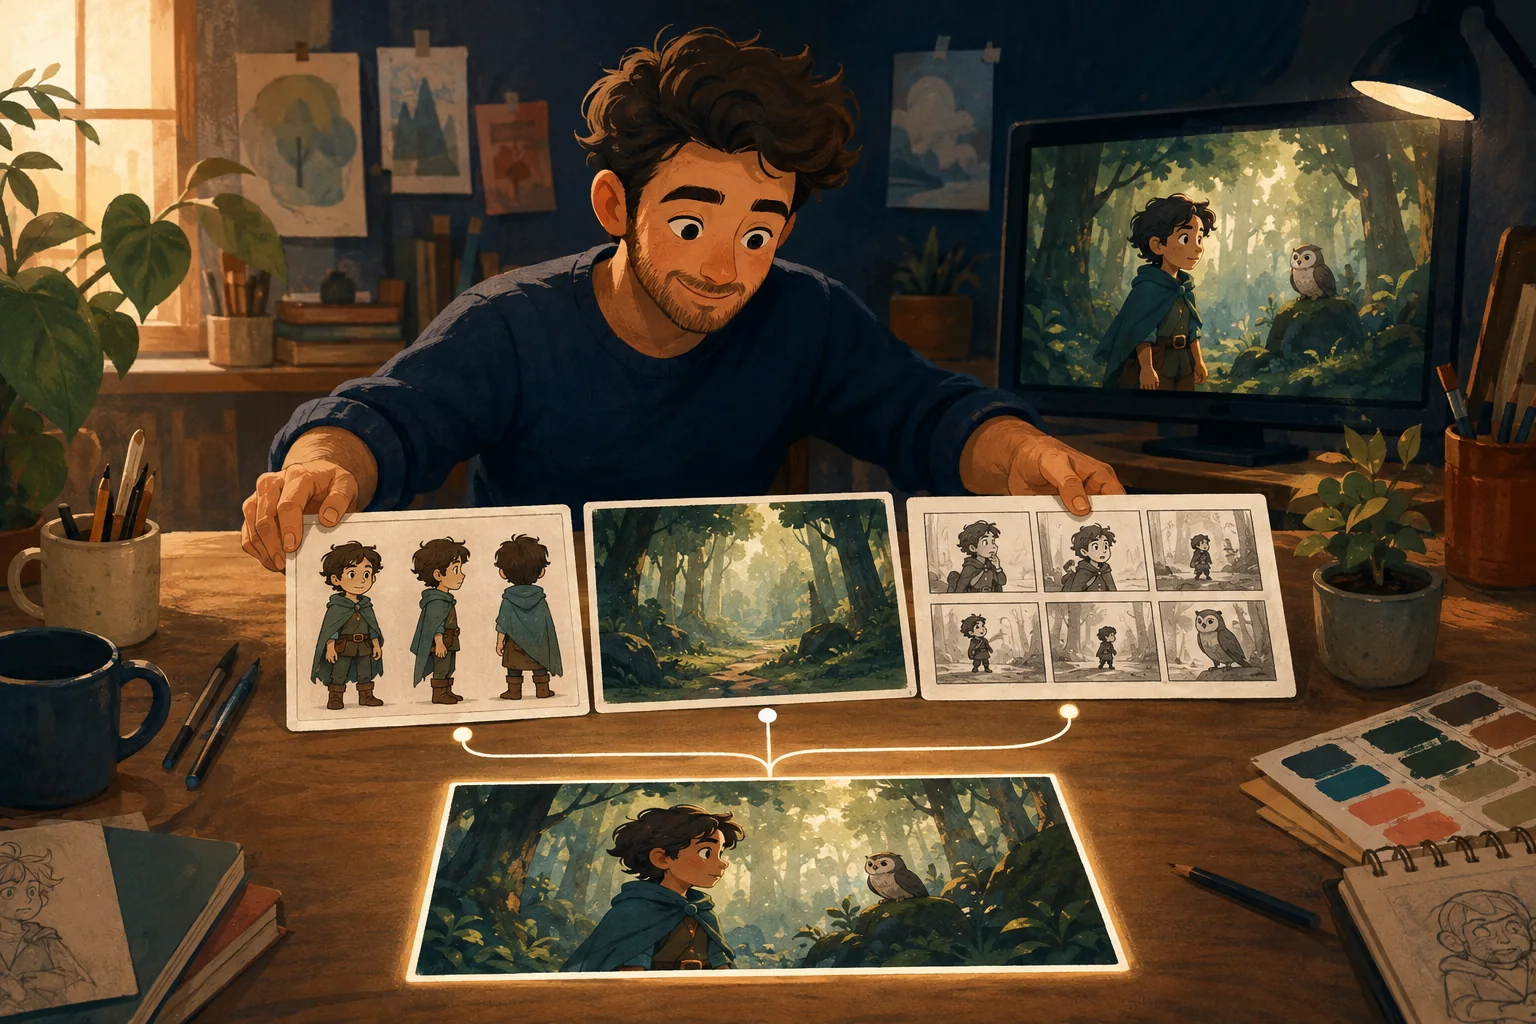
A finished script is not a finished animation plan.
A script tells you what happens. Animation still has to decide what the audience sees, which character is on screen, where the scene takes place, how the moment is framed and what actually moves.
The useful workflow is:
script → scenes → production assets → shots → approved visuals → animation → sequence review
That middle layer matters.
1. Clean the script before generating anything
Start by removing ambiguity.
A production-ready scene should make three things clear:
- where it happens;
- who is present;
- what visibly changes.
Consider:
INT. KITCHEN --- MORNING\ Eva enters and sees the birthday cake collapsed on the counter.\ EVA: "Please tell me that's supposed to look like that."\ Ben slowly lowers the icing bag.
That is much easier to translate than a paragraph containing several locations, memories and actions at once.
2. Separate dialogue from visible action
A video model cannot animate an internal thought unless you turn it into something visible or audible.
"Ben realizes he has ruined everything" is an idea.
"Ben looks at the collapsed cake, then hides the icing bag behind his back" is visible.
Keep asking:
What would the camera actually see?
This one question improves script-to-animation instructions dramatically.
3. Identify recurring characters before scene generation
Do not let every scene independently decide what Eva looks like.
Establish recurring characters first.
Lock the important identity details:
- face;
- age;
- proportions;
- hair/fur;
- wardrobe;
- signature accessories.
Then let scenes change expressions, actions and poses.
The actor stays the same. The performance changes.
4. Establish recurring locations
If the kitchen appears in four scenes, it is part of the production.
Define enough visual anchors to recognize it later.
For example:
- pale green cabinets;
- round wooden table;
- yellow refrigerator;
- large window above the sink;
- red wall clock.
You do not need to describe every fork.
You need continuity.
5. Break each scene into shots
One script scene can require several shots.
The cake scene might become:
Shot A: Wide shot. Eva enters the kitchen. Ben stands beside the collapsed cake.
Shot B: Close-up. Eva stares at the cake.
Shot C: Medium shot. Ben slowly hides the icing bag.
Now each generation has one clear job.
6. Approve the visual before adding motion
Check:
- correct character;
- correct wardrobe;
- correct location;
- correct prop;
- correct composition;
- correct emotional beat.
If the cake is missing in the still, animation is not the next problem.
Fix the scene first.
7. Animate the action that matters
Do not turn every shot into a camera demo.
For Ben's reaction, the important motion may simply be:
- eyes move toward Eva;
- hand lowers;
- icing bag moves behind his back.
Small, readable movement often serves comedy better than constant motion.
8. Review the sequence, not just individual clips
A good shot can still break the scene.
Put the shots together.
Check timing, eyelines, wardrobe, character identity, location continuity and whether the joke or emotional beat lands.
Then revise the smallest broken unit.
Script-to-animation tools do not remove directing
Current script-to-animation products increasingly automate scene breakdown, character assignment, storyboarding and generation. That can remove a lot of mechanical work.
But the creator still benefits from knowing what the scene is trying to communicate.
Automation is strongest when the production has a clear target.
Where MyToonMaker fits
MyToonMaker is designed around a guided production sequence rather than asking you to manage every step as an unrelated prompt.
The goal is simple: keep the creative decisions with you while making the production process easier to follow.
Start Your Cartoon when you are ready to turn the script into scenes.