
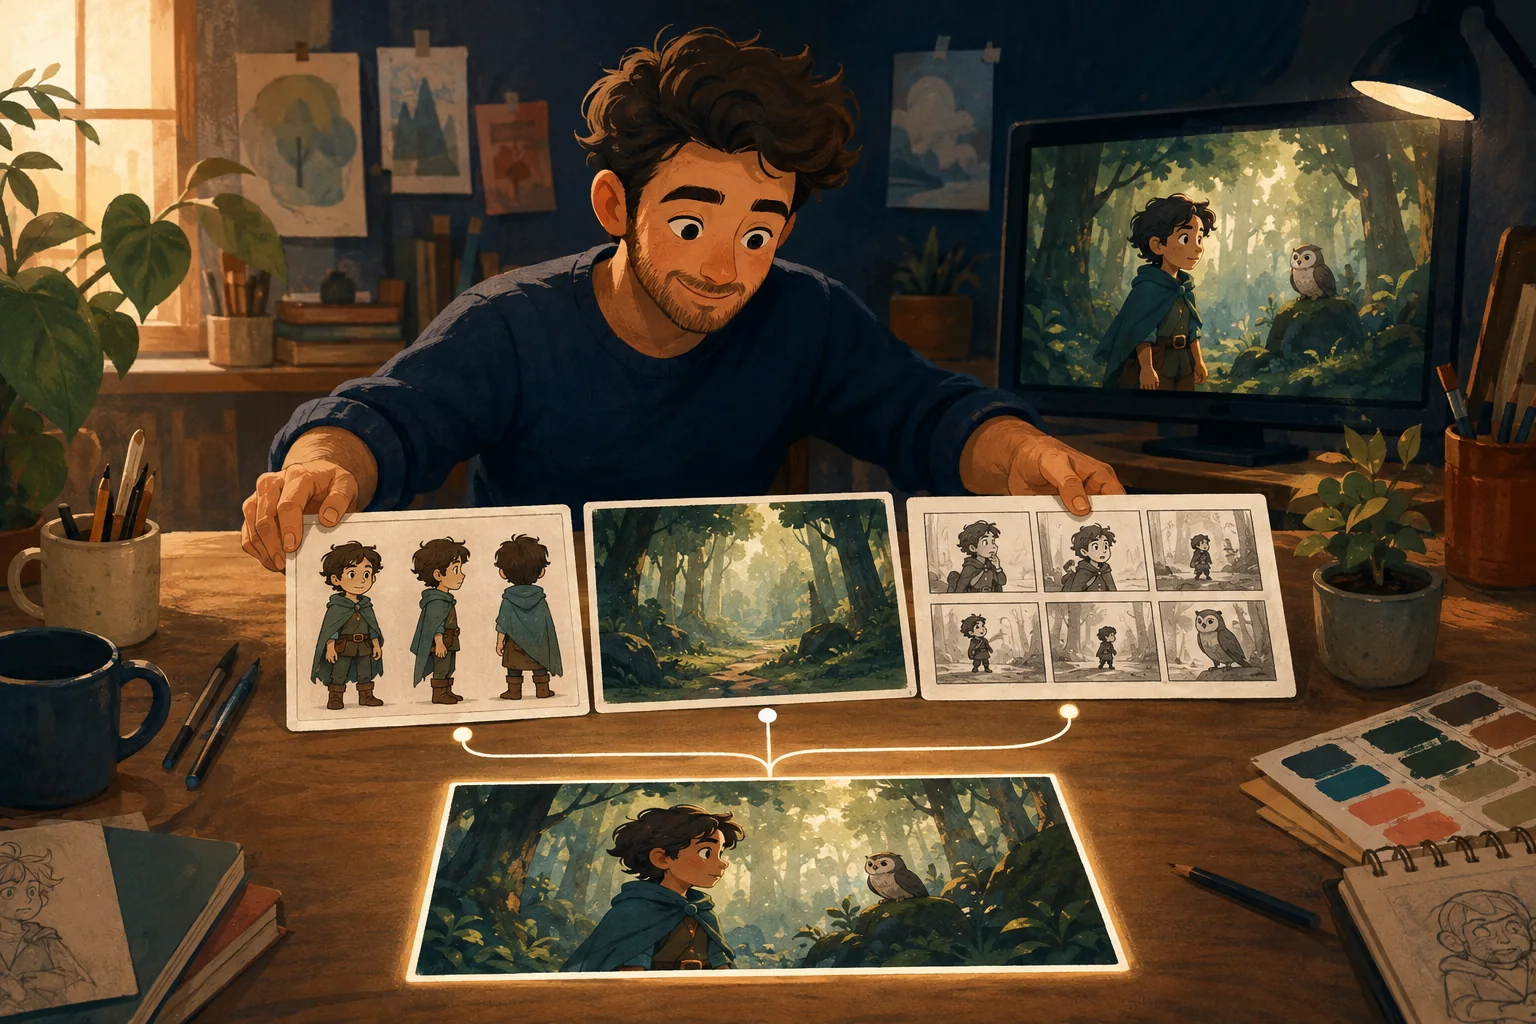
A cartoon video is easier to finish when you stop treating it as one giant generation.
Break it into production decisions.
Start with the idea. Turn that into a short story. Establish the characters and locations. Decide what each scene needs to show. Approve the visual direction. Then animate the scenes and review them together.
The tools can automate a lot of work.
They cannot rescue a production that never decided what it was making.
Step 1: Write the idea in one or two sentences
Do not begin with a 40-line prompt.
Begin with the point of the cartoon.
For example:
A tiny delivery robot is determined to deliver a birthday cake through a city during a rainstorm. Every shortcut makes the trip worse, but the damaged little cake arrives just in time.
That gives you:
- a main character;
- a goal;
- a setting;
- a source of conflict;
- an ending.
You can build from that.
If you cannot explain the idea simply, generation will not make the story clearer for you.
Step 2: Give the story a beginning, change and ending
A sequence needs progression.
At minimum:
Beginning: What is normal, and what does the character want?
Change: What makes getting it harder?
Ending: What finally happens?
For the delivery robot:
- Robot leaves bakery with perfect cake.
- Rain starts.
- Shortcut floods.
- Robot protects cake and takes a harder route.
- Robot arrives soaked with a crooked cake.
- Birthday child loves it anyway.
Now you have a cartoon.
Not visually yet. Structurally.
Step 3: Turn the story into scenes
Each scene should move something forward.
A useful test is:
If I remove this scene, does anything important change?
If the answer is no, the scene may not need to exist.
A simple scene list could be:
Scene 1 --- The mission
Bakery worker gives the robot the cake.
Scene 2 --- The weather changes
Robot steps outside. Heavy rain begins.
Scene 3 --- The bad shortcut
Robot finds the alley flooded.
Scene 4 --- The choice
Robot looks at the cake, then takes the long hill.
Scene 5 --- Arrival
Robot reaches the party.
Scene 6 --- Payoff
Child sees the crooked cake and hugs the robot.
This is far easier to produce than "make a funny birthday robot cartoon."
Step 4: Establish the main character
Before generating six different scenes, decide what the robot looks like.
For example:
- knee-high delivery robot;
- rounded cream body;
- small rectangular face screen;
- two blue circular eyes;
- yellow rain cape;
- red delivery box mounted on back;
- short wheeled legs.
Now decide what is fixed.
The rain cape may get wetter. The face can change expression. The body can tilt and move.
The robot should not suddenly become tall, silver and humanoid in scene four.
Save the approved visual reference and reuse it.
For recurring characters, read How to Keep AI Characters Consistent Across Scenes.
Step 5: Establish recurring locations
The same rule applies to the world.
If the bakery appears at the beginning and end, decide what makes it recognizable.
If the party takes place in a specific house, establish that house.
You do not need to design an entire fictional city.
You need enough visual continuity that the viewer understands where they are.
Step 6: Decide the shot before generating the scene
Now ask what the camera needs to show.
For Scene 3, "the alley is flooded" could become:
Wide shot. The tiny delivery robot stops at the entrance of a narrow alley completely covered in rainwater. The robot is small in frame. The red delivery box and yellow rain cape remain visible. The robot leans forward, realizing the shortcut is impossible.
That is a production instruction.
It tells the image or video system what matters.
Compare it with:
Robot in flooded alley, cartoon style.
Both may generate something attractive.
Only one is clearly serving the story.
Step 7: Approve the visual scene before adding unnecessary complexity
Check the still or first visual result.
Does it contain the right character?
Correct location?
Correct action?
Correct emotion?
Does it connect to the previous scene?
If not, fix that first.
Do not animate a mistake because animation feels like progress.
Step 8: Animate what the story needs
Movement should clarify the beat.
For the flooded alley scene:
- rain falls;
- robot rolls forward;
- stops;
- looks down;
- tilts head;
- backs away.
That is enough.
You do not need a dramatic orbiting camera because the system can generate one.
More motion is not automatically more professional.
Controlled motion is easier to read and easier to connect to the next shot.
Step 9: Review continuity across the whole cartoon
Once several scenes exist, stop looking at them separately.
Play or review them in order.
Check:
Character continuity
Does the hero remain recognizable?
Location continuity
Do repeated places still belong to the same world?
Style continuity
Does the cartoon suddenly switch visual language?
Story continuity
Does each scene logically follow the previous one?
Pacing
Does any shot stay longer than the idea requires?
Production errors
Are hands, props, clothing or important details wrong enough to distract?
Fix the weakest scene.
Do not automatically rebuild the whole project.
Step 10: Finish the sequence
A finished cartoon normally needs more than generated visuals.
Depending on your production, final work can include:
- dialogue or narration;
- sound effects;
- music;
- captions;
- scene timing;
- transitions;
- final export.
Keep these elements subordinate to the story.
A loud soundtrack cannot fix a confusing scene.
A transition cannot fix a character that changed identity.
Get the production logic right first.
What a cartoon video maker should actually make easier
A useful cartoon video maker should reduce the amount of production knowledge you need to carry in your head.
It should help you move through questions such as:
What is the story?
Who are the characters?
What do they look like?
Where does the story happen?
What should this scene show?
What has already been approved?
What needs to change?
What comes next?
That is more useful for a complete cartoon than simply giving you a blank prompt box for every new clip.
Where MyToonMaker fits
MyToonMaker is built around that guided production idea.
You start with the cartoon you want to make and move through the production one step at a time.
The goal is not to make you learn professional animation software.
The goal is to give your story enough structure that the characters, locations and scenes can become one connected project.
If you have an idea you want to turn into a real project, Start Your Cartoon.