
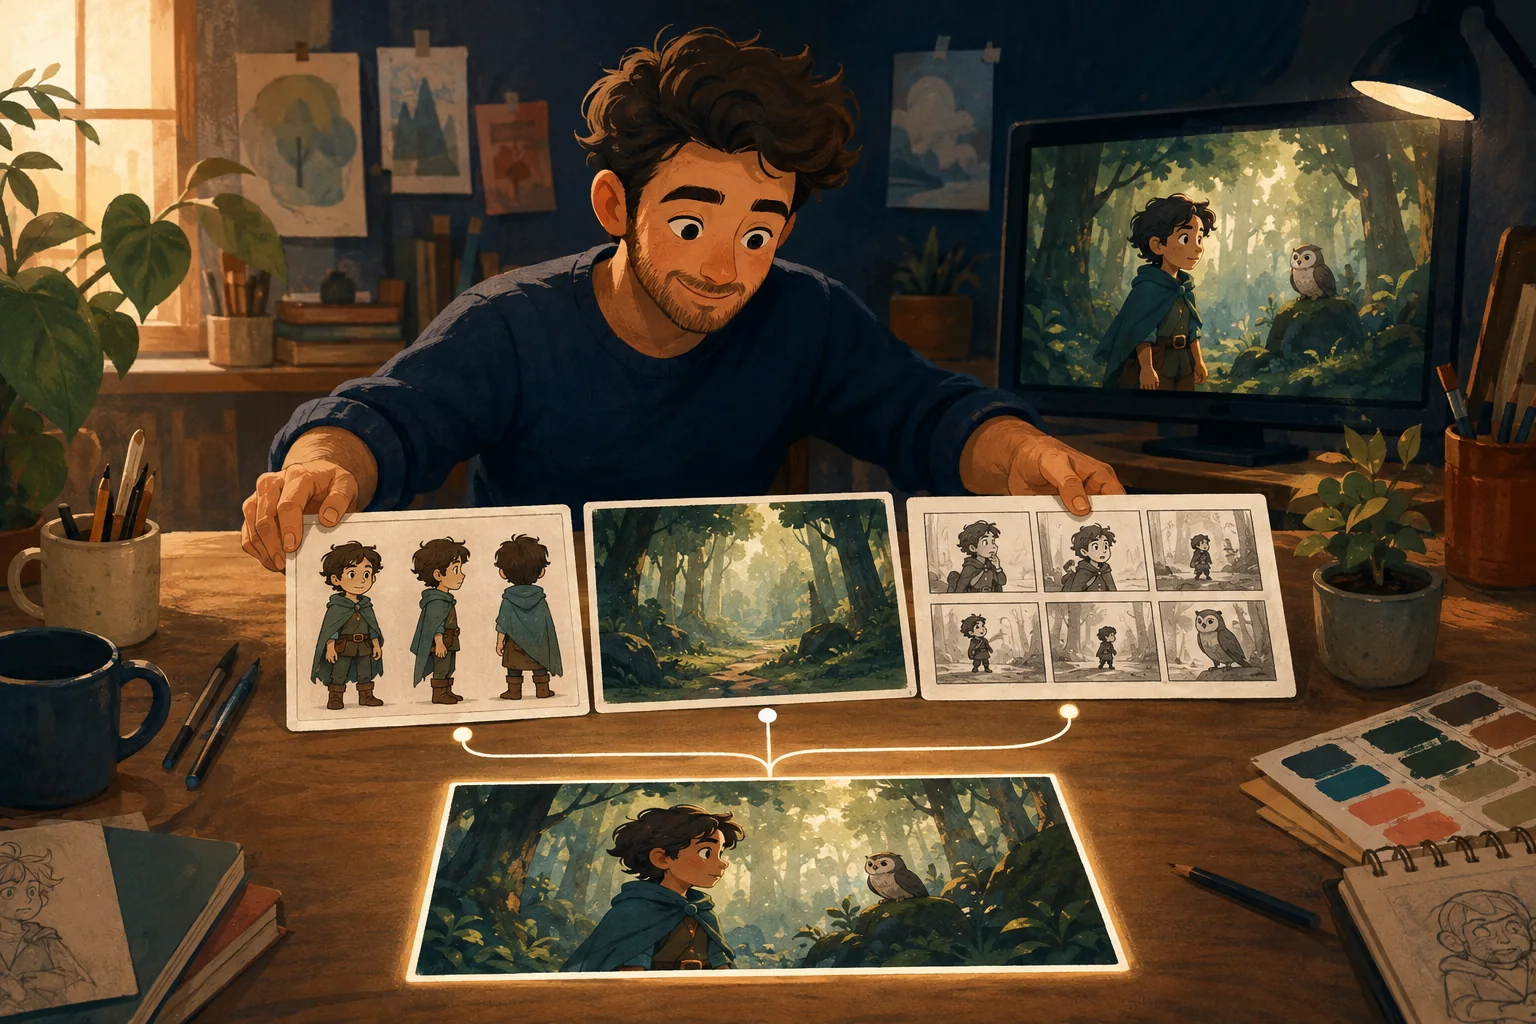
To turn a story into an animation, do not try to animate the whole story at once.
Translate it.
A written story describes what happens.
An animation has to decide what the viewer sees and hears, moment by moment.
The practical path is:
story → story beats → scenes → characters and locations → shots → visual scenes → animation
Here is how to do it without losing the story along the way.
Start with a story that can be summarized
Use this example:
On the morning of the town kite festival, a girl named June discovers that her little brother has accidentally torn the kite she spent all week building. She is furious, but when she sees him trying to repair it alone, she helps. They reach the festival late and fly the patched kite together.
Before thinking about animation, identify the core:
Character: June.
Want: Fly the kite she built.
Problem: Her brother tears it.
Change: Anger becomes cooperation.
Payoff: They fly the repaired kite together.
That emotional structure is more important than the number of shots.
Step 1: Find the story beats
A beat is a meaningful change.
For the kite story:
- June proudly finishes preparing the kite.
- She discovers it torn.
- She blames her brother.
- She finds him trying to repair it.
- She chooses to help.
- They arrive at the festival.
- The patched kite flies.
These beats give the animation its spine.
If your story has 25 paragraphs but only five meaningful changes, you may not need 25 scenes.
Step 2: Decide which beats deserve their own scenes
Now group the story into visual units.
Scene 1 --- Morning
June carries the finished kite downstairs.
Scene 2 --- The tear
She finds the broken kite and her frightened brother.
Scene 3 --- After the argument
June sits alone outside.
Scene 4 --- The repair
She sees her brother taping the kite badly and joins him.
Scene 5 --- The festival
They run toward the field with the patched kite.
Scene 6 --- The flight
The kite rises.
Notice what happened.
The prose became producible.
Step 3: Decide what each character must look like
Before creating six versions of June, establish June.
For example:
- 11 years old;
- dark curly bob;
- round face;
- orange windbreaker;
- denim overalls;
- green canvas sneakers;
- small star-shaped hair clip.
Her brother needs the same treatment if he appears repeatedly.
Keep the description focused on identity.
Do not mix scene-specific emotion into the permanent character definition.
June can be angry in scene two and relieved in scene six without becoming a different character.
Step 4: Establish recurring places
The story may need:
- family kitchen;
- front porch;
- festival field.
You do not need to design every room in the house.
Design what appears on screen.
For the festival field, decide enough visual anchors to keep it recognizable:
- wide grassy hill;
- colorful triangular flags;
- small wooden registration booth;
- dozens of kites in the sky;
- distant white water tower.
Now later shots have somewhere specific to return to.
Step 5: Turn scenes into shots
A written scene can contain several visual moments.
Scene 2 might become:
Shot 2A
Wide shot. Torn kite on kitchen floor. Brother kneels beside it.
Shot 2B
Close-up. June freezes in the doorway.
Shot 2C
Medium two-shot. Brother tries to explain. June grabs the broken kite.
The shot list should not describe everything that could happen.
It should describe what the audience needs to see.
Step 6: Decide what the viewer hears
Now handle:
- dialogue;
- narration;
- silence;
- sound effects;
- music.
Do not narrate what the image already makes obvious.
If we can see June staring at the torn kite, a narrator does not need to say:
June looked at the torn kite.
Narration should add something the image cannot carry efficiently.
Dialogue should sound like something the character would actually say.
Step 7: Create the visual scene before committing to motion
A still or key visual lets you inspect the scene cheaply and clearly.
Check:
- Is this June?
- Correct wardrobe?
- Correct location?
- Right character positions?
- Right emotion?
- Does the shot communicate the beat?
If the still fails, motion will not fix the underlying decision.
Step 8: Animate the action, not the entire description
Suppose the final shot says:
June and her brother stand together on the hill as the patched kite climbs into the bright afternoon sky. June looks up, then smiles at her brother.
The important movement is clear:
- kite rises;
- wind moves clothing/hair;
- June looks up;
- June turns;
- small smile.
That is enough.
Do not overload the shot because the video model can create more movement.
Animation should make the story beat clearer.
Step 9: Put the scenes together and watch the story again
Once the visuals exist, forget the prompts for a moment.
Watch as a viewer.
Does the anger make sense?
Do we understand why June changes her mind?
Is the repair scene long enough to feel important?
Does the final kite shot pay off the opening?
This is where you discover whether the adaptation works.
A technically impressive animation can still be a weak adaptation if the emotional changes disappeared during production.
Step 10: Fix the story at the smallest useful level
If the ending feels rushed, you may need another shot.
If one expression is wrong, you may need only another scene generation.
If the audience cannot understand why June forgives her brother, the problem may be in the script rather than the animation.
Identify the level of the failure:
Story problem?
Fix the beat.
Scene problem?
Fix the scene.
Shot problem?
Fix the composition.
Character problem?
Return to the approved identity.
Motion problem?
Regenerate or revise the animation.
Do not rebuild the entire project by default.
Story-to-animation is translation, not one-click conversion
Tools can automate parts of the process.
That is useful.
But "turn this story into a video" still contains creative decisions:
- which moments matter;
- what the characters look like;
- which locations recur;
- what deserves a close-up;
- what should be heard;
- what should move;
- what should be cut.
A good workflow makes those decisions easier to handle.
It should not pretend they do not exist.
Where MyToonMaker fits
MyToonMaker's purpose is to guide this translation one production decision at a time.
Instead of expecting a beginner to know how to move from prose to characters, scenes and shots, the platform is designed around a staged cartoon workflow.
That is the useful promise: not "press a button and creativity disappears," but "you do not have to organize the entire production process yourself."
If you already have a story---or even just the beginning of one---Start Your Cartoon.